Powered by Blogger.

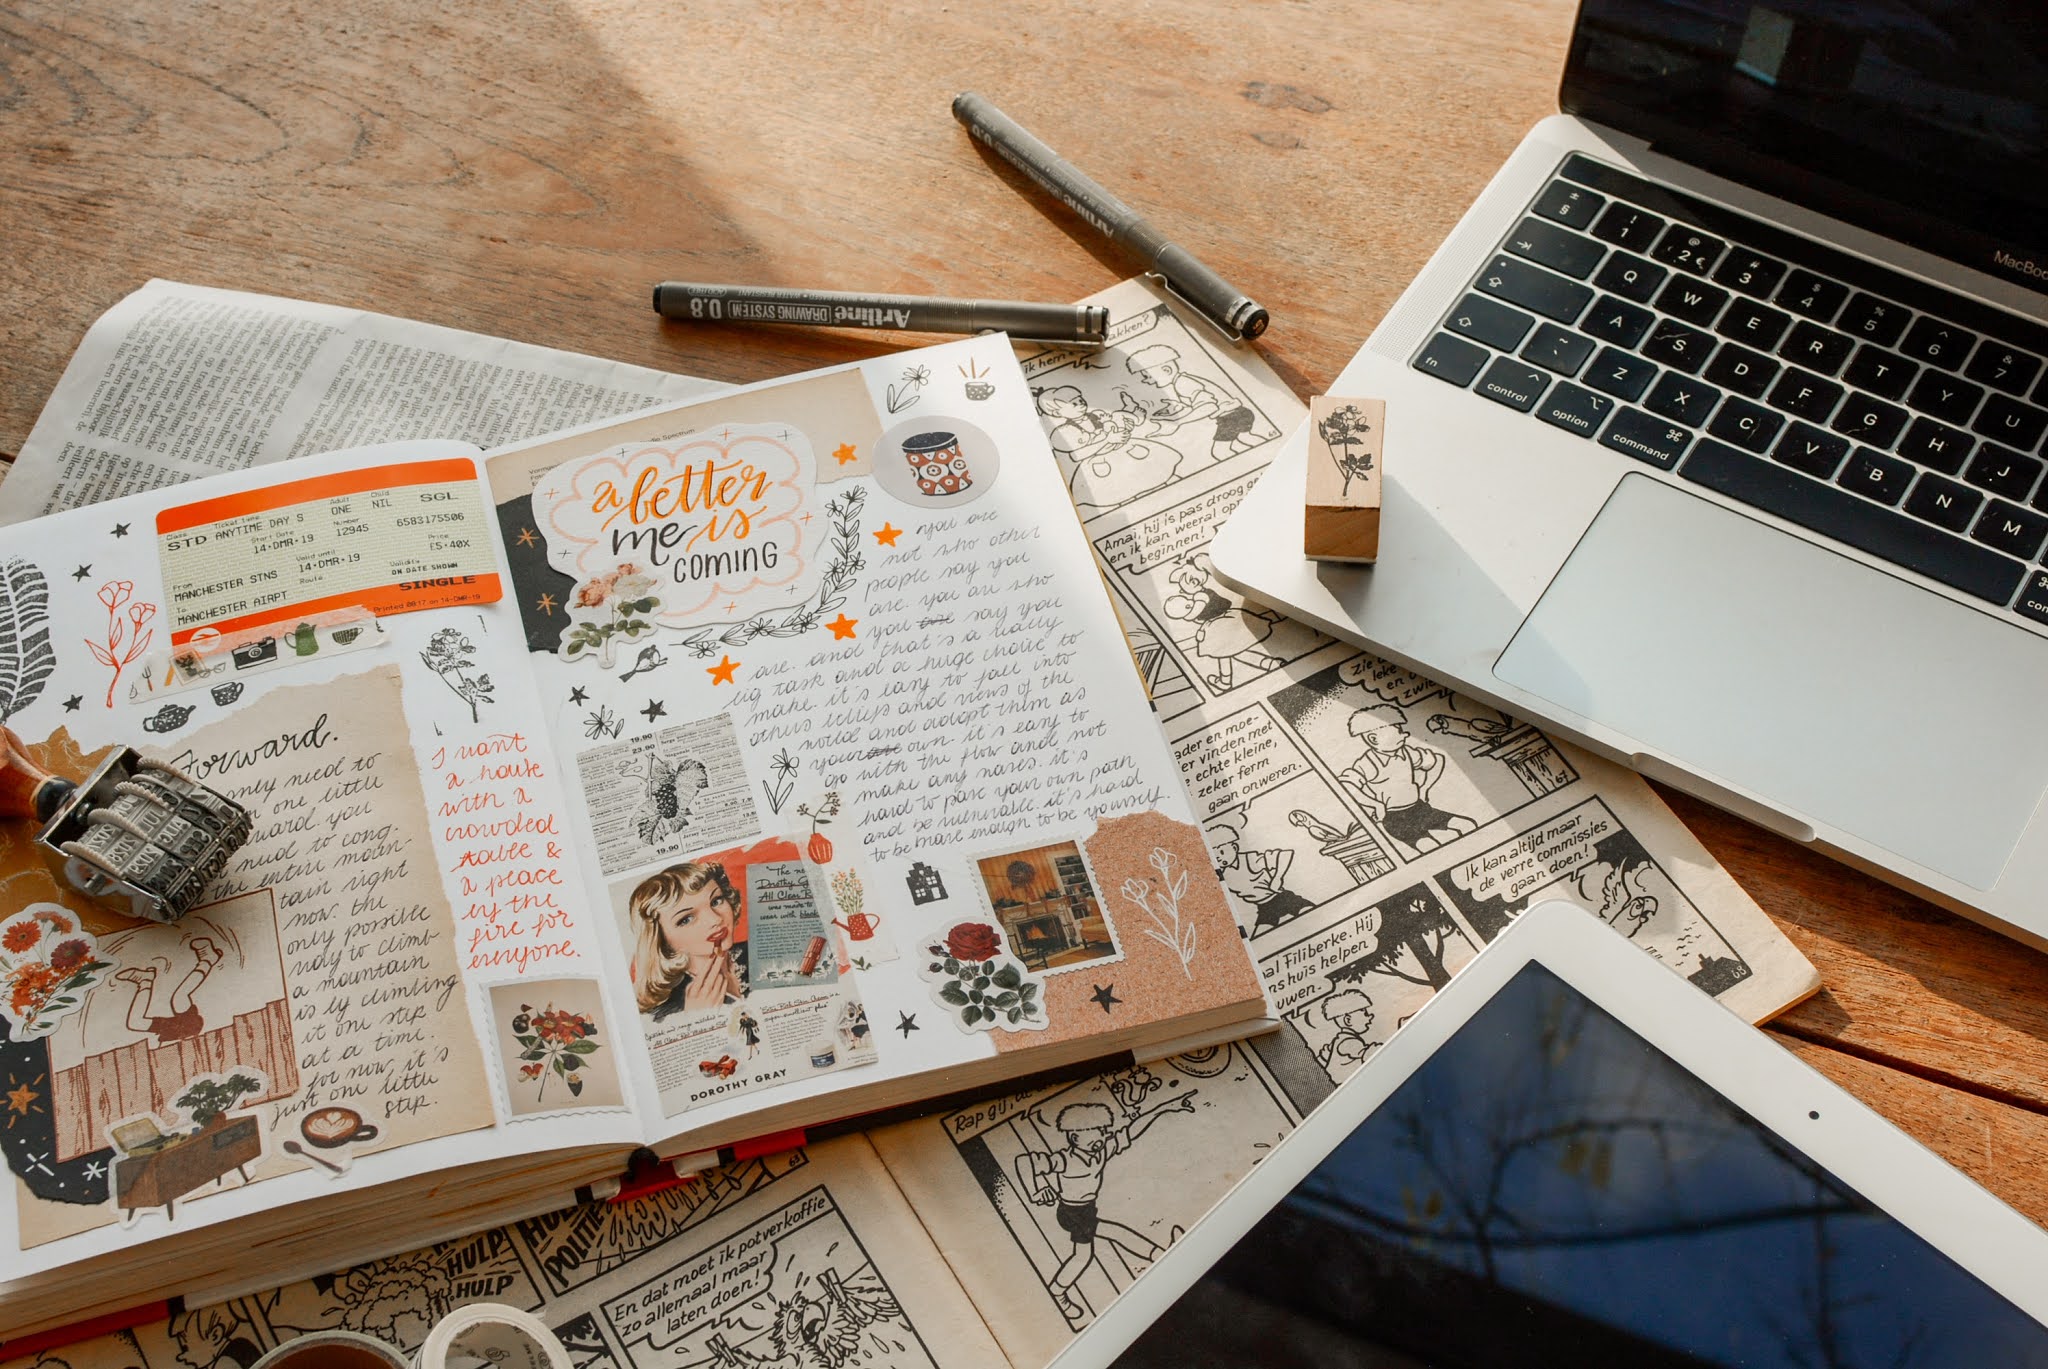
Why I Stopped Bullet Journaling & Switched To Digital Planning


Up until last year, one of my most popular posts was titled "A Look Into My Bullet Journal", which you can check out if you're interested! I raved about it being the best purchase of 2018, about it being so helpful for my organisation and productivity, and how excited I was to be using it. Well, if it had all those benefits and was so great, why did I stop?


I had initially started off with too many spreads to count, all of them done intricately and aesthetically so it'd look good for the 'gram. As time wore on, I realised I simply couldn't be bothered with always drawing things out when art isn't a strength of mine (those monthly covers were always a battle). I was always trying my best to imitate all the big bullet journal YouTubers I adored, but wasn't ever satisfied with how my own creations turned out.


Once I realised this, I started making my spreads minimal and simple - simple lines, simple headers, and most importantly; no doodles or drawings. Instead of drawing out designs myself, I started buying stickers to decorate the journal with instead.


However, as time wore on and university became more and more busy, I found that I was using the journal as less of a "journal" and more of a glorified to-do list. I would skip certain days or even weeks and leave spreads completely empty, which wasted both paper and my time. To rectify this, I started to plan my time on a day-by-day basis.


Exam season is where I finally made the switch to digital planning. 


I added all my exams into the calendar on my phone and planned out my day-to-day activities by using Google Keep. I didn't find use for the spreads any more and would forget to update my journal because everything was on Google Keep or my calendar anyway. Once I consciously made the switch over to digital planning, I forgot all about the bullet journal!


I've now evolved in which apps I use to digitally plan my time, so a blog post explaining all of that will be uploaded very soon! :)


So what does digital planning offer that bullet journaling doesn't?


1. IT'S MUCH MORE PORTABLE
One could argue that carrying around a bullet journal won't exactly weigh you down, but I personally found it a hassle to always remember to carry it. Having everything on my phone is just better because I always have it on me. If I need to confirm if I'm busy on a certain day, I can just check on my phone instead of flipping through a bunch of pages! The fact that all the apps I use sync up makes this process so smooth too. 


2. IT'S CHEAPER
This varies greatly, but for me personally, buying specific pens and highlighters that don't bleed through, buying a new journal when the current one runs out, and buying the stickers are all things that will add up over time. My phone and laptop were one-time purchases that will last much longer than a physical journal.


3. IT'S SO MUCH NEATER
Something I hated about bullet journaling is how I'd need white-out right next to me should I make a mistake. If a date or event changed, it would take a lot of effort to correct. Plans can always change, and this aspect really put a damper on the bullet journaling experience. Now, I can essentially decorate my Notion (what I use now) easily and not be afraid to make a mistake, because Ctrl + Z is right there for me!


Those are the main arguments I have for switching over to digitally planning instead of bullet journaling. Both obviously have their own pros and cons, but when I weigh them up I have to say that digital planning is the winner here!


Do you plan with a bullet journal or plan digitally?


Save this pin for later!


 Related Post: Keeping Myself Organised At Uni

Lessons Learnt From Living Abroad


If you had asked me just 3 years ago if I'd like to move abroad, I would have probably said no. I was comfortable in my bubble in the UK; all my friends were there and everything was predictable and fairly comfortable. So if you had told me I would actually be living abroad pretty soon, I definitely wouldn't have believed you. But here we are almost 2 years later and I've moved to Zambia then China within the span of 4 months. Talk about a plot twist!

I don't remember the move to the UK as particularly significant. I was just going along with what my parents said would happen, and when it happened I just took it all in my stride. Honestly, the people around me were way more excited than I was! But as a 6 year old, it's hard to look at that kind of move with the same perspective as a 20 year old, which is how old I was when we eventually left the UK.

Growing up in, and living among 3 different cultures (so far) has really shaped me into who I am today, which is a topic I want to dedicate an entire post to in the future. It's a cliché sentiment, but all your experiences really do shape you into the person you're going to ultimately become, and today I want to share what lessons from moving abroad (specifically in China) I learnt!

Before we get into it, I have written a few of posts about my time in China, such as some habits I've picked up, experiencing some cultural shock, and my experience being a black woman in China. Do check those out if you're interested!

Becoming self-dependent was the first thing I noticed about myself, and this was molded by the fact that I was now in university too. I didn't have parents or a sister just downstairs to rely on anymore.  My friends were all busy with university or work all the way on the other side of the world. Any decisions I had to make were to be made by and for myself. Having to navigate a new culture, a new language, and new people from different countries all bringing their own cultures and languages was difficult and lonely in the beginning, and it sometimes still is now!

Jumping into adulthood like that was a definite shock to the system, but it's a shock that is now paying off. Being able to take care of my own finances, travel by myself, and live by myself are things I only would have been able to do had I come all the way out here. 


Because I became self-dependent pretty quickly, the next thing I realised was how resilient moving abroad can make you. Being thrown into a new country with a completely new culture has made me way more confident in my ability to navigate through almost any situation! After some time, things or people that used to make me frustrated and easily annoyed turned me into a person who could face these challenges and just keep it pushing. 

A big part of being more resilient is facing and accepting reality. A lot of people will leave university or leave the country they wanted to move to because it didn't live up to expectations, or that the journey wasn't as smooth as they wanted it to be. It's being able to look at your new life and accept that things are different that makes all the difference. 

Finally, another lesson I learnt is that living abroad can make you used to just about anything. What do I mean by this? British people love to complain, and if we're going complain about something, the weather is near the top of the list. I went form complaining about summers of 27° or sometimes even 30° to living in summers of 37° and humidity thrown on top of it. 

Another example is just being outside itself! People staring, pointing, and whispering is part of the norm here and it's something that I've just grown used to. If I'm lost or need help with anything, I can walk up to a stranger and speak a language I've only been learning for just over a year, whereas in the UK if I was lost, I'd be dependent on Google Maps the whole time. 

So those are a few things I've learnt and come to realise since living in China since 2018. Time flies so quick, and in September, it'll be 2 years since I've been here (which is still crazy to me!)

I hope this post was interesting, and if you've ever lived abroad please tell me your experiences below!

Save this pin for later; 

Simple & Easy Kimbap | Recipe


How long has it been since I made a recipe post on the blog? The last recipe I published was my stir fried tofu and broccoli, which was in January of last year!

During my time off social media, I decided to follow a sudden craving, and create my version of kimbap! I'm not claiming this to be traditional or authentic to the Korean staple, but I can vouch that this was absolutely delicious. Using a combination of fresh and cooked veg was a good shout, and it's such a versatile dish to suit to your own needs, which is one of the best things about Asian cooking!

If you like meat, you can add meat. If you're vegan, just take out the eggs, or add your favourite veggies. I loved this recipe because it was so fresh and didn't take up any time at all!

INGREDIENTS
2 1/2 cups rice
4 sheets of seaweed (gim/nori)
2 eggs
1 medium carrot
1/2 cucumber
Lettuce
Optional; sesame seeds and sesame oil

METHOD
1. So the first thing to do is cook your rice. Please rinse the rice thoroughly about 3 or 4 times to remove the starch and ensure the final product is sticky enough to hold all the ingredients together. This is the first place my kimbap isn't traditional at all; I only had medium grain white rice on hand, and was not feeling the trek across campus to buy short grain, but luckily it turned out just fine! When you rinse the rice thoroughly, add enough water to cover it and cook it until all the water has dried up. When the water has dried up, switch off the heat and leave it to steam in the pot until all the other ingredients are prepped.

2. As the rice is cooking, fry the eggs. Whisk them in a bowl with some salt to taste and fry them in a thin layer a bit at a time. When the bottom is cooked, roll one side to the other using a spatula or chopsticks and add a bit more mixture and cook in the same fashion; rolling the cooked egg from one side to the opposite side and allowing the mixture to flow to the underside so it adheres. Repeat until all the mixture has been used up and the end result is egg. We're going for a tamagoyaki style that we'll cut into strips that are the same length as the nori sheet.

3. For the cucumber, you can either peel it or keep the skin on (I kept mine on!), but just make sure to cut them into thin strips that fit the same length as the nori sheet. Also be sure to scoop out the seeds so the kimbap isn't wet or moist!

4. Prepare the carrot by peeling and slicing into thin matchsticks. When they're cut, fry them in a bit of oil, and add some salt to taste. Don't fry them so they're soft and limp - they should be soft but still have a crunch to them. This should take 1 to 2 minutes.

5. Place the cooked rice into a bowl and season with some salt to taste. This will also help cool it down slightly before we begin rolling. Also optional is adding sesame seeds and sesame oil at this step. When this is done, you're ready to start rolling!

6. If you have a bamboo mat, it can make rolling the kimbap 10x easier, but if you don't have one on hand don't sweat it! Place a sheet of nori (shiny side down) on the bamboo mat and spread some rice in a thin layer on the bottom 2/3 of the sheet.


7. Add your ingredients in an even layer; 2 leaves of lettuce, a strip of egg, some carrot, and a strip of cucumber. Roll the seaweed by using the bamboo mat (if you don't have one, it's fine!), but make sure to roll the seaweed tightly and firmly. Once it has been rolled up, set it aside and repeat steps 6 and 7 for the other ingredients. 

8. Once all the ingredients have been used up, it's time to cut the kimbap. Optionally, you can spread some sesame oil on the kimbap, but I didn't have any on hand so I skipped this step. Wet the sharpest knife you have either in sesame oil or water, and cut the kimbap in even, bitesize pieces, and you're done!

You can serve the kimbap as it is. Traditionally, it is eaten on picnics, but I had mine with some ramen and enjoyed it all the same. Dipping in mayo or soy sauce is another tasty option I'd totally recommend!

Other alternatives I want to try out are: bulgogi kimbap, and tuna kimbap! It's so versatile and you can add any ingredients you have on hand. 

It's best eaten on the day you prepared it, but it can also be stored at room temperature and eaten the next day!

Save this recipe for later;